Do you get overwhelmed when you look at a baseball glove and don’t know where to start? If so, then you have come to the right place! Learning how to relace a baseball glove is not as difficult as it may seem. Whether your laces have become frayed or broken, or if your mitt is just too big or small, this project can be completed in five easy steps. With the help of our detailed instructions, replacing lacing on your gloves will be an enjoyable experience that rewards you with years of use from what could otherwise be considered old-fashioned equipment!
When Should You Relace a Baseball Glove?
When your baseball glove begins to show signs of wear and tear, it’s time to consider relacing. Major signs that you need a new lacing job include fraying or breaking of the lace, loose pockets, and missing laces. Relacing your glove can help you maintain its shape and keep it performing at its best. To determine when you should replace the lacing on your glove, check for these signs:
- Visible fraying or tearing of the lace: Look for any areas where the threads are separating or a break in the stitching. This is an indication that you should relace your glove immediately.
- Loose pocket: If your glove’s pocket has become too slack or if it isn’t securely holding the ball, then it’s time for a new lacing job.
- Missing or broken laces: If any of your glove’s laces are missing or broken, you won’t be able to properly secure the pocket and keep it in top shape. Relacing is the best way to fix this issue.
These are all indications that you need to replace your baseball glove’s lacing. Taking care of these issues early can help keep your glove performing at its peak level and prevent more serious wear and tear down the line. So don’t wait – if you see any of these signs on your glove, consider relacing as soon as possible! [1]
How to Replace a Baseball Glove Mitt?
Replacing a baseball glove mitt is an essential skill for any ballplayer. The right glove can mean the difference between success and failure in the game, so it’s important to learn how to replace your mitt when it needs to be done. Follow these steps to ensure that you have the perfect fit with your new glove:
- Measure Your Hand – Before purchasing a new glove, measure the circumference of your palm at its widest point (just below your knuckles) as well as from fingertip-to-fingertip. Make sure that you don’t forget about thumb measurement! These measurements will help you determine what size glove fits you best.
- Choose the Right Type – There are various types of gloves on the market, each designed for a particular position. For example, if you play first base, you’ll need a larger mitt with more padding to handle hard throws. On the other hand, a pitcher typically needs a smaller glove that offers greater flexibility and control when throwing pitches.
- Select the Ideal Material – Different materials are used to make baseball gloves, including leather and synthetic fabrics. Leather is known for its durability and comfort while synthetic materials tend to be less expensive and offer better ventilation during hot weather games.
- Break In Your Glove – You don’t want your glove to be too stiff or too loose; instead it should have just enough flexibility to allow you to make the perfect catch. To break in your mitt, use softeners like glove oil and glove conditioner, or try using a mallet to shape it into the proper form.
- Care for Your Glove – Once you have a perfectly formed glove that fits your hand comfortably, protect its quality by storing it properly (away from extreme temperatures). Additionally, wiping down dirt with a damp cloth after each game and re-applying oil regularly will help maintain the leather’s softness and durability.
By following these steps, you can ensure that your new baseball glove mitt is just right! With practice and patience, replacing your baseball glove will become second nature. It’s important to remember that a good glove is the foundation of any ballplayer’s success. So take your time and select the right one. [2]
How to Lace a Baseball Glove?
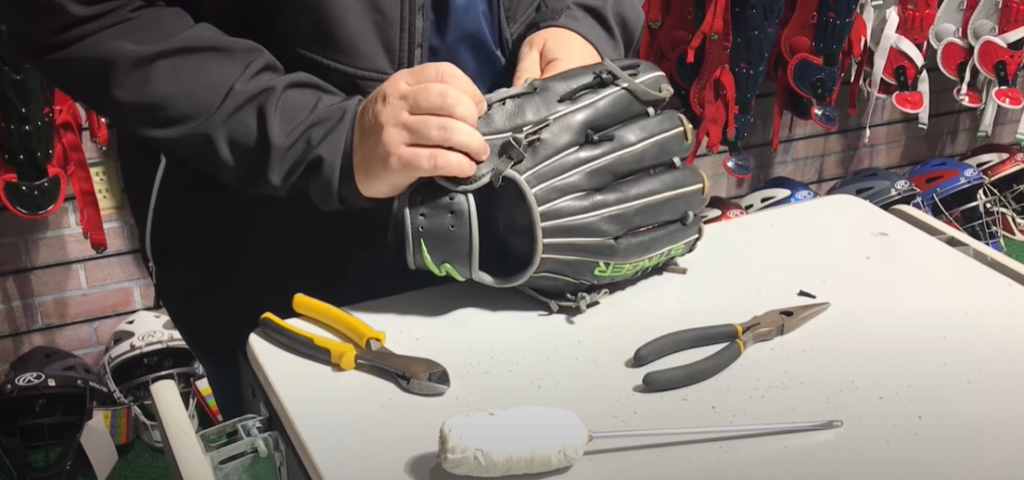
Once you’ve acquired the necessary lacing and tools, the process of lacing a baseball glove is relatively straightforward.
First, thread one end of the lacing through the eyelet holes on each side of the glove, starting with one side at a time and creating a “U” shape that passes behind the thumb cut-outs. After both strands have been threaded through their respective holes, you can begin to lace up your glove.
As you continue to lace the glove, you can make a few tweaks to get it just right.
You can adjust the tension of the lacing by tightening or loosening specific spots around the glove until everything feels perfect. If you have any problems with loose spots, try making a knot in that area after tying it off. This should keep it from coming undone or slipping out of place.
Once your lacing is complete and your glove looks great, there’s only one step left: break-in! [3]
How to Maintain a Baseball Glove?
Maintaining a baseball glove is important for keeping it in great shape and ensuring that it gives you a good performance. Here are some tips to help maintain your glove:
- After each game or practice, be sure to wipe down the glove with a damp cloth to remove dirt and debris.
- Apply leather conditioner on the surface of the glove every so often to keep the material supple.
- If you notice any tears or rips, take your glove to a reputable repair shop as soon as possible to have them fixed up before they get worse.
- Store your gloves in a cool, dry place away from direct sunlight when not in use; this will prevent premature aging and cracking.
- Stuff some newspaper into the fingers and thumb of the glove when not in use to help maintain its shape.
- Don’t forget to break-in your glove if you purchased a new one; this can be done by using a balled-up sock or tennis ball and working it around different parts of the glove for about 20 minutes each day for several weeks.
By following these simple steps, you’ll be sure that your baseball gloves last through many seasons of use!
Cost of Relacing a Baseball Glove
The cost of relacing a baseball glove can vary depending on the type and quality of leather used, as well as the level of expertise required to do the job. Generally speaking, baseball glove relacing costs will range from around $40-$100. If you have an extremely rare or valuable glove, it may cost more. It is important to research and find a qualified professional who understands how to properly relace your baseball glove.
Doing this will ensure that your glove gets the best possible care, and also prevent any potential damage from being done during the process. Additionally, be sure to ask about warranty information before getting your glove relaced so that you are covered in case of any issues with the workmanship.
After all, a baseball glove is an essential tool for the sport, and should be taken care of properly. Taking the time to find a qualified professional with experience in relacing baseball gloves will go a long way towards ensuring that your glove lasts for years to come.
Once you have found a reliable source, make sure all materials used are of high quality, as this will ensure that your glove looks great and performs just like new when it’s finished. High-end leathers may cost more upfront but they will last longer, making them well worth the investment over time. With proper care, your newly relaced baseball glove should provide many years of use! [4]
Should A Baseball Glove Be Tight?
When replacing a baseball glove, it is important to keep in mind that the glove should fit snugly but not too tight. A glove that fits too tightly can restrict movement and cause discomfort or pain during play. You should also consider if you are playing a position where a tighter fitting glove would be beneficial such as catcher or pitcher. It’s important to find the right balance of comfort and support when choosing the correct size glove.
If you’re still unsure of the proper fit, consult a professional who can measure your hand and provide advice on the best fitting baseball glove for you. With some patience and know-how, you’ll be able to find a glove that is snug but comfortable enough for use in play.
Can You Break In A Glove Too Much?
Unfortunately, the answer is yes. If you break in a glove too much it can cause permanent damage to the leather, rendering your glove unusable. To prevent over-breaking in of your glove, be careful not to use excessive force when working on the laces or any other part of the glove.
Additionally, be sure that you only use oil and/or conditioner designed specifically for baseball gloves – using anything else (such as shoe polish) can destroy the fibers of the leather and make it crack or peel away from the glove.
Finally, only work on one area of the glove at a time; this allows each area to properly absorb any oils or conditioners used so that there isn’t an uneven distribution which could lead to damage. By following these common sense tips, you can make sure that your glove will last a long time without suffering any unnecessary damage.
With the right care, your baseball glove can stay in top shape and provide you with years of use. So take the time to properly relace and maintain your glove, and you’ll be rewarded with a faithful piece of equipment that’s ready whenever you are! [5]
Does Water Help Break In A Glove?
It is a common myth that water helps break in a baseball glove, but this isn’t true. Water actually softens the leather and can cause it to weaken prematurely. This can lead to tears or scrapes on the glove and make it less effective at catching balls. Using oil-based conditioners can help maintain leather’s strength and flexibility while breaking in the glove more quickly than air drying alone. It’s important not to over condition the glove, as too much conditioning can cause the material to become oversaturated and reduce its lifespan.
If you do need to use water for your glove, consider using distilled water that has been boiled for a few minutes, allowing any minerals in tap water to evaporate away before cooling completely before applying it to the glove. If you are using a conditioning product, follow the directions on its usage and be sure to not apply too much or let it sit too long. Use a soft cloth to rub conditioner into the leather, paying special attention to any creases or folds where the leather has been stretched. Allow the glove to air dry overnight before playing with it.
Breaking in your glove properly is important for both safety and performance. While water may help soften the leather material, it can cause more damage than good and should not be used as part of your breaking-in process. Instead, use a quality oil based conditioner and allow ample time for drying before taking your newly broken-in glove out onto the diamond!
How Do You Squeeze A Baseball Glove?
Squeezing a baseball glove is an important part of breaking in the leather and ensuring that it is ready for use. A properly broken-in glove will fit your hand better and help you perform better while playing. Here’s a step-by-step guide on how to squeeze your new or used gloves:
- Start by filling up a sink or bucket with warm water and submerging the glove in it for five minutes. This will soften the leather and make it easier to work with.
- Once the glove has been soaking for five minutes, take it out and wrap a towel around the palm of the glove to absorb any excess water. Securely tie off the end of the towel around the glove with a rubber band.
- Place your hand in the glove and form it into the shape of a ball, applying pressure to all parts of the glove evenly. This will help mold the leather around your hand, allowing for better grip and control when playing baseball.
- Finally, squeeze the edges of the glove tightly together inside and out until they are meeting snugly. This will help further break-in the leather and allow for an ideal fit when you wear it on game day.
By following these steps, you can ensure that your baseball glove is broken in properly so that you can get maximum performance from it while playing! With a little bit of time and patience, you’ll be able to enjoy your glove for many seasons to come. [6]
FAQ
How hard is it to relace a baseball glove?
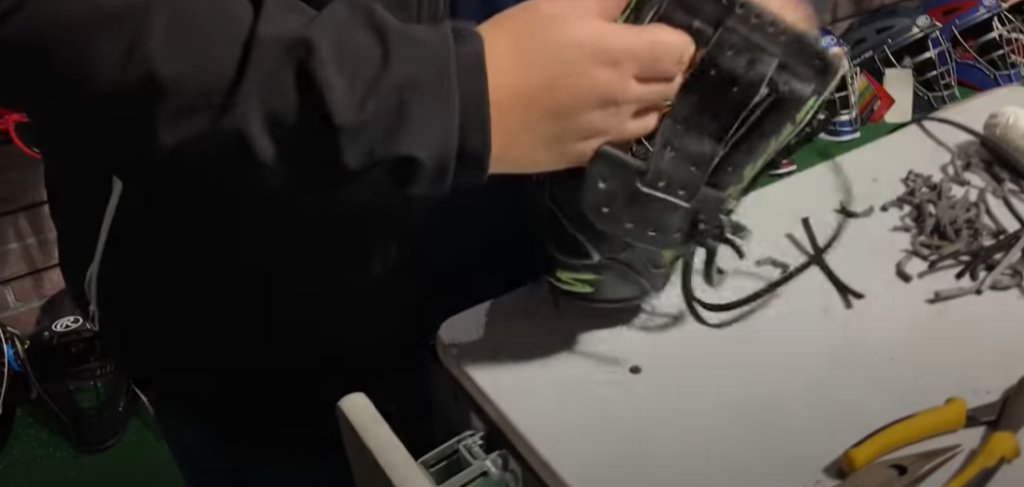
Relacing a baseball glove is not a difficult process, but it does require some patience and attention to detail. The first step is to remove the existing laces from the glove by cutting them with scissors or pliers. Once this is done, you can begin threading new laces through the eyelets in the glove, starting from one side and working your way to the other. Depending on how tautly you want your glove laced, you may need to add extra loops of lace in certain areas for additional support. It is also important to make sure that all knots are as tight as possible so that they will not come undone during play.
How much does it cost to get a baseball glove relaced?
The cost of relacing a baseball glove varies depending on the type of laces being used and the amount of labor involved. Generally speaking, most basic relacing jobs will cost between $20 to $50, while more complicated ones can go up to as much as $100 or more. The best way to determine the exact cost is to contact your local sporting goods store and ask for an estimate.
What type of lace should be used for a baseball glove?
Traditional leather laces are usually considered the best option for a baseball glove, since they provide maximum durability and longevity. Synthetic laces can also work well if you don’t mind replacing them sooner than with leather ones. Ultimately, it’s up to you which type of lace you prefer, but leather is generally the preferred option.
Can I relace a baseball glove myself?
Yes, it is possible to relace a baseball glove yourself, however it can be a time-consuming and difficult process if you’re not familiar with the proper techniques. If you are comfortable enough doing so, it is recommended that you read up on the steps involved before attempting to do the job yourself. Alternatively, most sporting goods stores or professional glove repair services offer this service for an additional fee.
Can a baseball glove be restrung?
Yes, it is possible to restring a baseball glove. The process of restringing the glove involves removing the laces from the pocket and then replacing them with fresh laces in a specific pattern that conforms to the shape of the pocket. This process can be done by hand or with an automated knitting machine. If performed manually, the lace should be pulled tightly around each stitch as it passes through so that no gaps are created between stitches. If using an automated machine, make sure to follow all instructions for proper use as incorrect thread tension may result in stretching or breaking of the leather. After completing this process, double check that all laces have been replaced properly and securely fastened into place before playing with your glove.
Why a Vaseline filled glove?
A Vaseline-filled glove is a popular choice amongst baseball players as it helps to soften the hardness of new leather and provide extra cushioning for the player. This type of glove also helps reduce wear and tear on the leather, making it last longer. To use this method, simply fill the pocket of your glove with Vaseline and work it into every part of the pocket until all areas are evenly coated. Let the Vaseline sit in the glove overnight before using so that it can fully absorb into the leather. Doing this will make your glove softer to catch and reduce any discomfort from hard catches!
Does hot water ruin a glove?
No, hot water will not ruin a glove. In fact, it is recommended to soak your glove in warm or hot water before attempting to relace it. This helps soften the leather and makes it easier to lace the new strings through the holes. However, make sure that you are using lukewarm or hot water and not boiling water as this may cause damage to the leather of your glove. Additionally, after soaking your glove for a few minutes in warm water, be sure to dry off any excess moisture with a rag or towel before beginning the relacing process. This will help ensure that no further damage is done and will also help prevent mildew from forming on the glove. Lastly, once you have finished relacing your baseball glove, you should apply a leather conditioner or waterproofing agent to ensure that your glove is properly protected from the elements.
Useful Video: How To Relace A Baseball Glove [THE RIGHT WAY]
Conclusion
Replacing a baseball glove can seem like an overwhelming task. However, with the right tools and supplies, it can be done quickly and easily. Before tackling the job, have all of your necessary supplies on hand and understand what type of replacements you need to make. Once you know what needs to be done, use a few simple steps to complete the process correctly. Begin by removing the old laces then apply new wax or glue where needed. After that, thread in new laces following the existing pattern. Finally, tie off your laces and let them dry before using your glove again. With these tips in mind, you should now have all of the knowledge you need to relace a baseball glove properly!
Good luck!
References:
- https://www.baseballmonkey.com/learn/how-to-repair-a-baseball-glove
- https://www.justballgloves.com/blog/post/how-to-relace-repair-a-baseball-glove/
- https://www.instructables.com/Relace-A-Baseball-Mitt/
- https://thehittingvault.com/how-to-break-in-a-baseball-glove/
- https://www.dickssportinggoods.com/s/baseball-softball-services
- https://probaseballinsider.com/baseball-glove-faqs-break-maintenance-replace/